
10 Prom Hair Down Ideas To Try
Prom night photos live forever, so the way your hair frames your face matters more than most people realize. A down hairstyle can feel soft, glamorous, romantic, or modern depending on the finish, part, accessories, and volume. For many girls across the USA, the goal is not just looking polished at the dance, but also feeling comfortable through dinner, pictures, walking, hugs, and hours of dancing. This guide gives you wearable ideas that look beautiful in real life and still photograph well from every angle, indoors and outside. That balance makes choosing a style feel much easier.
The best loose hairstyles balance movement with control. You want shine without stiffness, curls without crunch, and volume that survives a full evening. In my experience, the most successful looks start with the dress neckline, face shape, weather, and hair texture, then add details that make the style feel intentional. Whether your vibe is classic, trendy, soft, or dramatic, these ideas will help you choose a look that feels special without becoming complicated or uncomfortable halfway through the night, especially during warm spring events and crowded dance floors. Those details make the final choice feel more personal.
1. Soft Hollywood Waves

- Best for satin, velvet, fitted, or classic A-line prom dresses.
- Use a large-barrel curling iron and brush curls only after cooling.
- Add shine mist lightly so the finish looks glossy, not greasy.
- Great for polished photos, formal entrances, and timeless Pinterest saves.
Soft Hollywood waves instantly make a loose hairstyle feel polished, expensive, and camera-ready. This look works because the waves are structured enough to feel formal, but still fluid enough to move naturally when you walk or dance. A deep shine spray, large barrel curling iron, smoothing brush, and light flexible hairspray are the main essentials. The waves should flow in the same direction, creating that graceful red-carpet shape that looks especially stunning with satin gowns, fitted dresses, statement earrings, and classic makeup in evening photos. It also flatters most face shapes in group portraits.
The transformation comes from replacing everyday curls with a smoother, more intentional wave pattern. After curling, let the hair cool completely before brushing it into one soft shape, then clip the front section while the wave sets. This helps the face-framing pieces stay elegant instead of falling flat during photos. I’ve noticed this style works beautifully for medium to long hair because it creates length, shine, and movement without covering the dress. It is glamorous, but still comfortable enough for a full night. That makes it reliable for pictures and dancing.
2. Sleek Center Part

- Best for minimalist gowns, bold earrings, and clean makeup looks.
- Use serum only on mid-lengths and ends to avoid flat roots.
- Keep flyaways controlled with a toothbrush and light hairspray.
- Works well for straight, wavy, medium, or long hair.
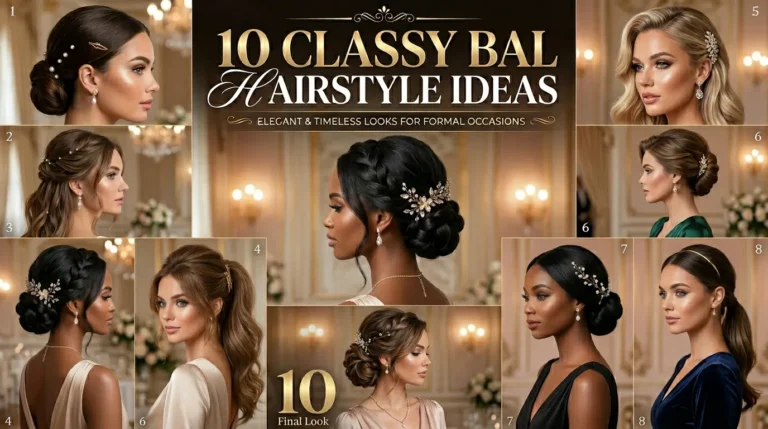
A sleek center part gives loose hair a clean, modern finish that feels effortlessly confident. The beauty of this idea is its simplicity: the hair is smooth near the roots, softly shaped through the ends, and balanced evenly around the face. A flat iron, heat protectant, serum, boar-bristle brush, and anti-frizz spray help create that glossy finish. This style looks especially good with minimalist dresses, sharp necklines, bold earrings, or makeup that focuses on glowing skin and defined eyes for a polished photo-ready effect. It also makes statement jewelry look more intentional.
The result is a hairstyle that feels mature without looking too severe. Keep the roots controlled, but avoid pressing the entire length completely flat unless that suits your dress and face shape. Slight bends through the ends add softness and keep the look from feeling stiff in photos. That’s why many stylists recommend finishing with a lightweight shine product instead of heavy oils. You get polish, movement, and a very Pinterest-friendly silhouette that works well in humid spring weather with smart product choices. That balance matters when photos happen all night.
3. Romantic Side Sweep

- Best for one-shoulder, strapless, and off-the-shoulder dresses.
- Secure one side with crossed pins hidden under the top layer.
- Use texture spray before pinning so the sweep stays in place.
- Ideal when you want romance without a full updo.
A romantic side sweep adds instant softness and makes loose hair feel styled from every angle. This idea works by shifting the visual weight to one side, creating a flattering frame around the cheekbones, shoulders, and dress neckline. You can use a curling wand, duckbill clips, strong bobby pins, texture spray, and a decorative comb if you want extra hold. It is especially pretty with one-shoulder gowns, off-the-shoulder dresses, or any look where you want the hair to highlight the collarbone and delicate necklace details. It also photographs beautifully from a seated angle.
The practical advantage is that the style keeps hair controlled without pulling it into an updo. Sweep the heavier side forward or back depending on your best photo angle, then secure the lighter side with hidden pins near the nape. I’ve seen this work well when the curls are brushed out slightly, because the style becomes romantic instead of overly pageant-like. It also helps show earrings, makeup, and dress details while still giving you the dreamy, loose-hair effect many prom looks need from arrival to after-party. That control makes the style easier to enjoy.
4. Glossy Loose Curls

- Best for soft glam, sparkly gowns, and classic prom styling.
- Curl smaller sections if your hair struggles to hold shape.
- Let curls cool before separating them with your fingers.
- Use flexible spray so movement stays soft and natural.
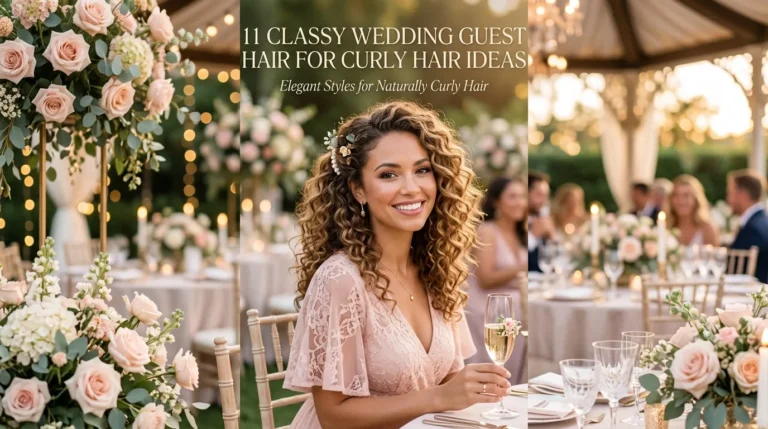
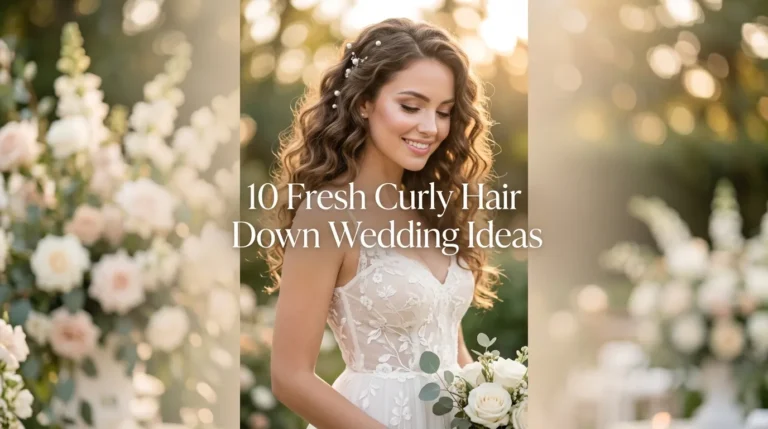
Glossy loose curls are perfect when you want a full, pretty style that still feels youthful. The key is creating curls that look soft and touchable, not tight or crunchy. Use a medium barrel curling iron, heat protectant, curl clips, flexible hairspray, and a shine mist to build shape that lasts. Curling away from the face creates openness, while alternating directions underneath adds natural fullness. This idea works beautifully with sparkly gowns, corset bodices, tulle skirts, romantic pastel colors, and classic corsage moments. It also brings softness around the shoulders.
What makes this style useful is how easily it adapts to different hair lengths and textures. Fine hair can benefit from volumizing mousse and root spray before blow-drying, while thicker hair may need smaller sections and extra cooling time. Once the curls are set, separate them with your fingers instead of brushing too aggressively. The final look feels soft, bouncy, and flattering in both flash photos and natural outdoor light. It is one of the easiest ways to look dressed up without feeling overdone or overly styled. That easy glamour is why it stays popular.
5. Half Tucked Layers

- Best for girls who want loose hair with face-framing control.
- Use hidden pins under the top layer for a clean finish.
- Tuck one side for asymmetry or both sides for balance.
- Works beautifully with earrings, soft waves, and glossy makeup.
Half tucked layers create a relaxed, face-framing look with just enough structure for a formal event. Instead of pinning the hair back dramatically, a few front sections are gently tucked behind one or both ears, allowing the rest to fall naturally. You may need a smoothing cream, small clear elastics, discreet bobby pins, and a finishing spray with flexible hold. This idea is great for girls who want their hair down but dislike having front pieces constantly falling into their face during every part of the evening. That comfort matters during dinner, pictures, and dancing.
The finished effect is soft, clean, and practical, especially for dancing and taking photos. Tucking the layers opens the face, shows earrings, and keeps makeup visible without changing the overall loose style. For a more secure finish, cross two bobby pins underneath the top layer so they stay hidden. In my experience, this detail looks best when the ends have a gentle bend or wave, because the tucked pieces blend naturally into the rest of the hair instead of looking separated in close-up portraits. That subtle detail also keeps the style polished.
6. Pearl Pin Accent

- Best for romantic gowns, pearl jewelry, and soft glam makeup.
- Use fewer pins than you think for an elevated finish.
- Place accents near one temple or along a tucked section.
- Choose mini pearls for beaded dresses and larger pins for simple gowns.
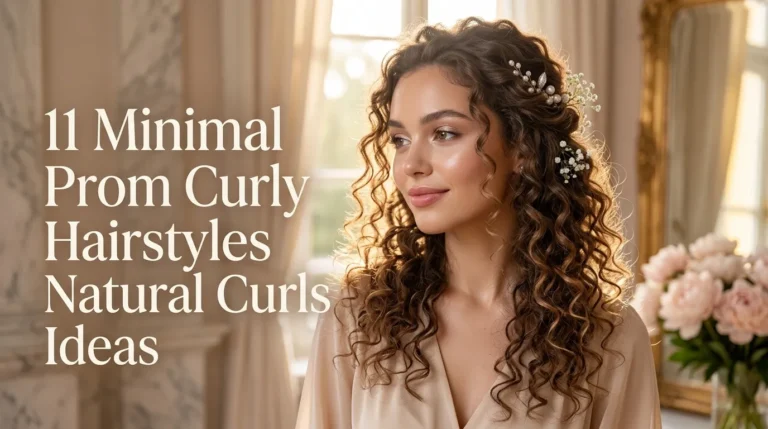
Pearl pin accents bring a delicate, bridal-inspired detail to loose prom hair without making the look feel too formal. The idea works because pearls catch light softly, adding texture and sparkle while keeping the overall style romantic. Use pearl bobby pins, mini pearl clusters, a curling iron, texture spray, and lightweight hairspray for hold. Place the pins near one temple, above a tucked section, or scattered lightly through one side. The goal is decoration that feels intentional, not crowded or distracting from the dress. The sparkle feels soft rather than overwhelming.
This style creates a beautiful upgrade for simple waves, sleek bends, or brushed curls. Pearls pair especially well with white, champagne, blush, navy, black, and soft blue dresses, making them easy to match with popular USA prom color palettes. Keep the rest of the accessories balanced, because pearl pins already create a focal point near the face. If your dress has beading, choose smaller pins; if the dress is simple, a slightly bolder cluster can make the hair feel thoughtfully finished without competing for attention. That balance keeps the overall outfit looking refined.
7. Braided Crown Detail

- Best for lace, floral, garden, or whimsical prom looks.
- Start with textured hair so the braid has grip.
- Pull the braid apart gently for a fuller Pinterest-style effect.
- Pin the braid ending under loose hair so it disappears.
A braided crown detail gives loose hair a fairytale finish while keeping the style secure around the face. This idea works by adding a narrow braid along the hairline or across the back, then blending it into the loose lengths. You may use texture powder, small elastics, bobby pins, a curling wand, and light hairspray. The braid can be polished or slightly pulled apart for softness. It looks beautiful with lace dresses, floral embroidery, soft glam makeup, garden-style prom photos, and candlelit dance-floor moments. It also adds interest to back-view photos.
The transformation is subtle but memorable because the braid adds shape without hiding the hair length. For better hold, start with hair that has some texture instead of freshly washed slippery strands. Pull the braid gently at the edges to make it look fuller, then pin it under a top layer so the ending disappears. I’ve noticed this style is especially helpful for windy outdoor pictures, because it controls the front pieces while the rest of the hair still moves naturally during the whole celebration. That movement keeps the look relaxed and youthful.
8. Voluminous Blowout

- Best for girls who want body, shine, and movement without curls.
- Use mousse before drying and rollers after each section.
- Lift the crown lightly, but keep the top layer smooth.
- Perfect for strapless gowns, clean makeup, and confident photos.
A voluminous blowout gives loose hair that fresh, expensive salon finish everyone notices immediately. This look is built on lift at the roots, smoothness through the mid-lengths, and soft movement at the ends. You need a round brush, blow-dryer, volumizing mousse, root-lift spray, Velcro rollers, and flexible hairspray. The style works beautifully when you want glamour without tight curls. It pairs well with fitted gowns, strapless dresses, layered necklaces, and makeup that feels clean, glowing, and modern in every candid shot. It also makes the hair look healthy for portraits.
The biggest benefit is comfort, because the hair feels light and touchable while still looking styled. After blow-drying each section, roll it into Velcro rollers and let everything cool before removing them. This step creates bounce that lasts longer than a rushed blowout. For extra lift, flip the part slightly off-center or tease only the crown underneath the top layer. The final result looks effortless in photos, but the controlled preparation keeps it from collapsing before the last song or losing its bounce. That lasting shape is what makes it worthwhile.
9. Floral Clip Finish

- Best for spring proms, pastel dresses, and romantic styling.
- Choose silk, velvet, or matte floral clips for a softer look.
- Place the flower where it complements your best photo side.
- Keep the rest of the accessories simple and balanced.
A floral clip finish adds a soft, feminine detail that feels perfect for spring prom season. The idea works because one well-placed flower accessory can connect your hairstyle with your dress color, bouquet-inspired nails, or overall romantic theme. Choose silk flower clips, small floral pins, a curling wand, texturizing spray, and bobby pins for backup security. Keep the flower size proportionate to your head and hair volume. Smaller blooms feel delicate, while one medium statement clip creates an editorial finish with a romantic mood. That styling choice keeps the accessory looking elevated.
This look can transform basic waves into something personal and memorable. Place the floral clip above one ear, behind a side sweep, or near the back where it peeks through soft curls. Avoid overly plastic-looking flowers, because texture matters in close-up photos. Matte petals, velvet finishes, or tiny pearl centers usually look more elevated. I’ve seen this work especially well for outdoor photos, pastel dresses, and soft glam makeup because the accessory adds color without making the hairstyle feel too busy or costume-like. That restraint keeps the final look elegant.
10. Textured Beach Waves

- Best for effortless, modern, and slightly undone formal looks.
- Leave the ends straighter to keep the shape current.
- Use texture spray through the middle, not directly at the roots.
- Avoid too much salt spray if your hair feels dry.
Textured beach waves bring a relaxed, cool-girl finish to formal hair without losing the dressy feeling. This idea works best when the waves are airy, separated, and slightly undone rather than perfectly uniform. Use a curling wand, sea-salt spray, dry texture spray, heat protectant, and a wide-tooth comb. Leave the ends a little straighter for a modern shape, then break up the waves with your fingers. It is a great choice for satin slips, simple gowns, and effortless makeup with a modern edge. It also works well with layered cuts.
The final style feels easy, wearable, and less fragile than tighter curl patterns. Because the waves are meant to look lived-in, a little movement during the night actually improves the shape instead of ruining it. For long-lasting texture, prep the hair with mousse before drying, then add spray only through the mid-lengths and ends. Avoid too much salt product if your hair is already dry. This gives you softness, volume, and movement while keeping the overall look polished enough for prom from the first photo to the final dance. That flexibility makes it practical for the entire evening.
Final Styling Notes
Before choosing your final look, test it with your dress neckline, earrings, and makeup in similar lighting. Take a few phone photos from the front, side, and back, then move around for five minutes to see what shifts. The best style is not always the most complicated one; it is the one that makes you feel pretty, comfortable, and recognizable. Keep a small emergency kit with pins, mini hairspray, blotting papers, and a comb, so your hairstyle stays fresh without needing constant attention and stress all night.