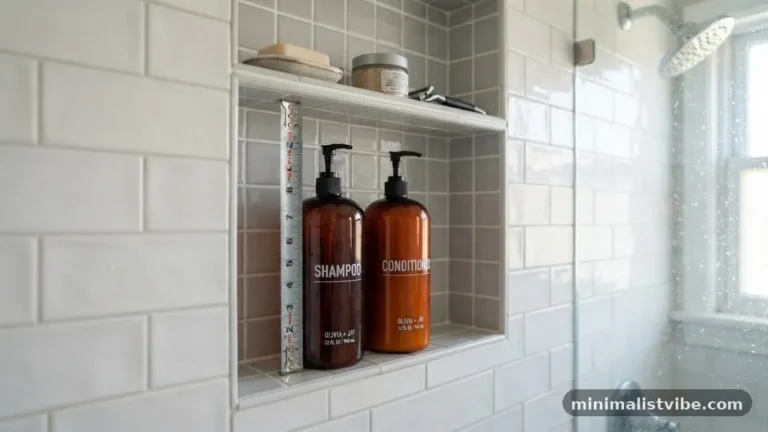
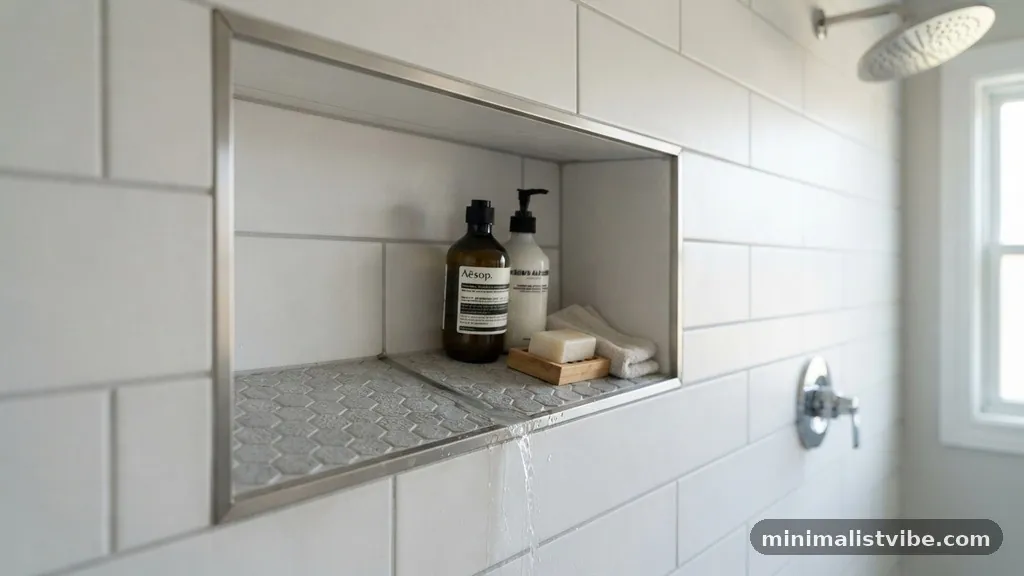
How to Slope a Shower Niche Shelf So Water Doesn’t Pool in Corners
When you are planning a bathroom renovation, properly sloping a Shower Niche Shelf So Water Doesn’t Pool in Corners is essential for long-term durability. If the bottom surface of your niche is perfectly level, standing water will inevitably collect, leading to grout failure and potential mold growth over time.
By incorporating a subtle downward pitch toward the shower floor, you ensure that moisture drains away before it can compromise your tile installation. This simple adjustment to your niche pitch serves as a critical defense in creating a moisture-resistant shower environment, protecting your walls from water damage and keeping your bathroom fresh for years to come.
Understanding the Importance of Niche Drainage
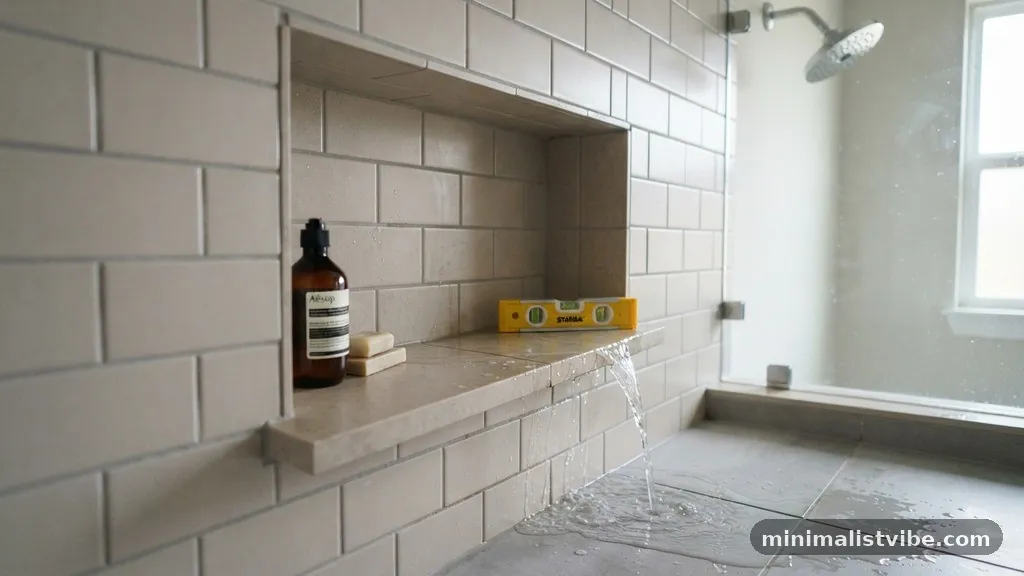
A shower niche is a high-traffic area that constantly faces direct water exposure. If the horizontal surface is completely flat, droplets will sit on the grout lines and the corners, eventually seeping through the porous surface of the tile and grout. This persistent dampness is the primary precursor to mold growth and the degradation of the substrate behind the tile.
When you focus on sloping a Shower Niche Shelf So Water Doesn’t Pool in Corners, you are essentially creating a gravity-fed drainage system. Even a small, barely perceptible angle—roughly an eighth of an inch per foot—is enough to encourage water to run off the shelf. This prevents the accumulation of soap scum and mineral deposits, which often trap moisture against the wall.
Beyond just preventing leaks, a proper slope makes cleaning significantly easier. When water runs off naturally, you don’t have to manually squeegee the niche every time you finish showering. This design choice shifts the burden of moisture management from your maintenance routine to the physical architecture of the shower itself, ensuring that your investment in tile and waterproofing remains intact.
Preparing the Niche Framing
Before you even think about tile, your shower wall framing must be set up to accommodate the slope. Most installers frame the niche as a simple rectangular box, which is a common construction mistake that leads to flat shelves. Instead, you should account for the thickness of your backer board and thin-set mortar when determining the height of the bottom sill.
When framing the bottom horizontal member, intentionally mount it at a slight angle. You can achieve this by shaving a small amount off the stud on one side or by using shims to create the desired pitch. It is much easier to adjust the wooden frame before you attach the cement backer board than it is to correct a flat surface once the structure is enclosed.
Make sure your framing is square and plumb on the sides, but keep that bottom board angled. If you are using a prefabricated foam niche kit, check the manufacturer’s instructions, as some come with a pre-molded slope. If the kit is flat, you will need to build up the back edge with a little extra thin-set mortar or a thin piece of waterproof board to create the necessary incline.
Installing the Waterproofing Membrane
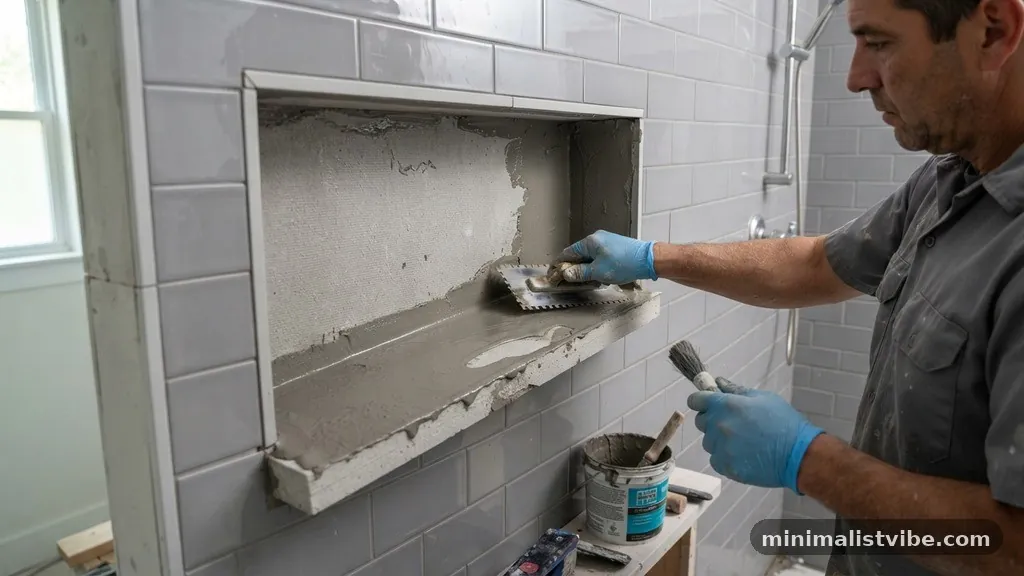
The effectiveness of your drainage depends entirely on the integrity of your watertight envelope. After installing your backer board, you must apply a high-quality liquid-applied membrane to the entire niche area. This step is non-negotiable, as it provides the primary barrier against water infiltration if the grout or tile eventually cracks.
When applying the membrane, pay special attention to the corners. These are the most common points of failure in any shower installation.
You should use a mesh fabric reinforcement tape embedded into the liquid membrane to bridge the gaps where the horizontal and vertical surfaces meet. This provides extra strength to the corners where movement or settling might cause cracks.
Ensure the membrane is applied in multiple coats, allowing for the recommended drying time between applications. As you apply the product, be careful not to fill in your slope with excess material. You want a consistent, thin layer that follows the angle of the shelf.
If you notice the membrane pooling in the corners, use a brush to pull it toward the front edge of the niche. You can find detailed technical specifications for moisture management at the Tile Council of North America.
Checking the Pitch Before Tiling
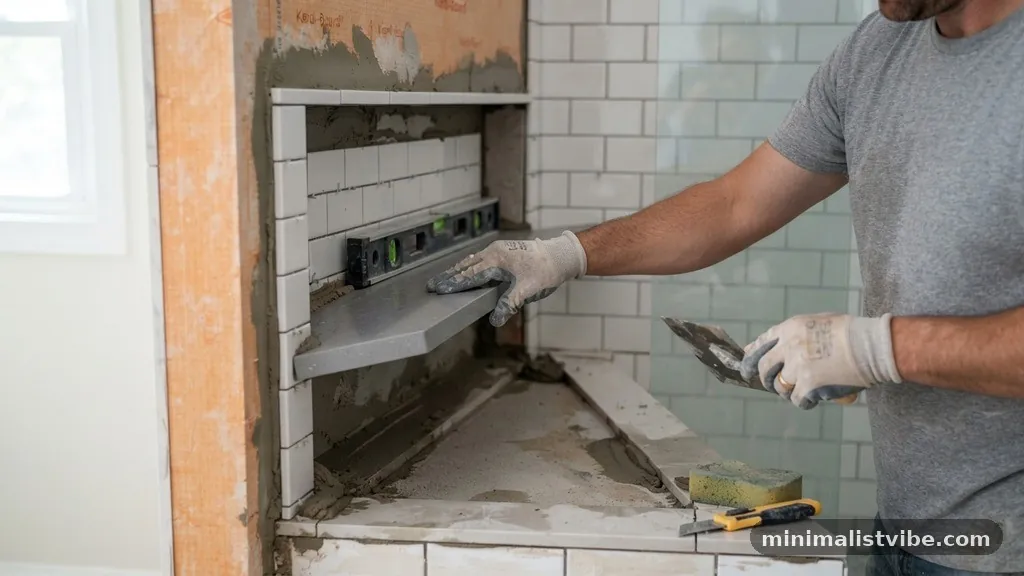
Before you begin tiling, it is vital to perform a final inspection of your work. Place a spirit level on the shelf to confirm that the bubble shows a downward trend toward the shower interior. Even with a perfect slope, sometimes the thickness of the thin-set mortar can inadvertently level out the surface if you aren’t careful.
If you find that the shelf is still too flat, you have a brief window to correct it. You can build up the back edge of the niche with a small amount of waterproof patching compound or extra thin-set mortar.
Allow this to cure completely before you start laying your tile. It is far better to delay your tile installation by a day than to live with a shower niche that traps water for the next decade.
Verify the slope in both the center of the shelf and near the corners. Sometimes the surface can be sloped in the middle but flat near the sides, which is where most water will end up sitting. A quick check with a small torpedo level will give you the confidence that your drainage strategy is sound and ready for the final finish.
Selecting the Right Materials
The materials you choose for the niche shelf play a role in how well water sheds. Natural stone, for example, is more porous than glazed porcelain, meaning it will absorb more moisture if it sits on the surface. If you choose a material with higher absorption, the slope becomes even more critical for preventing staining and efflorescence.
Consider using a single large piece of stone or tile for the bottom shelf if possible. By minimizing the number of grout joints on the horizontal surface, you reduce the number of potential entry points for water. If you must use multiple tiles, ensure that the grout lines are tight and filled with a high-quality, stain-resistant epoxy grout.
Avoid the temptation to use decorative trim pieces that might create a lip at the front edge of the niche. Any lip, no matter how small, will act as a dam and defeat the purpose of your slope. The front edge of your shelf should be flush with the wall tile or slightly recessed to allow for a smooth transition that encourages water to flow off the surface.
Applying Thin-Set Mortar Correctly
When you begin the tile installation, the way you apply the thin-set mortar will directly affect the slope of your tiles. If you trowel the mortar unevenly, you might accidentally create high spots that counteract the pitch you built into the framing. Use a notched trowel to maintain a consistent depth of mortar across the entire surface of the shelf.
Press each tile firmly into the mortar, using a level to ensure that the slope is maintained across the entire width of the niche. If you are working with large-format tiles, use tile spacers to keep the joints consistent and prevent the tiles from shifting while the mortar sets. It is easy for a heavy tile to sag toward the back of the niche if the mortar is too wet, so monitor your progress closely.
If you encounter any high spots, lift the tile and remove a small amount of mortar from the back. Conversely, if a corner is dipping too low, add a tiny bit more mortar to bring it into alignment with the slope. This iterative process of checking and adjusting is what separates a professional-grade installation from a DIY project that suffers from premature failure.
Managing Interior Corners
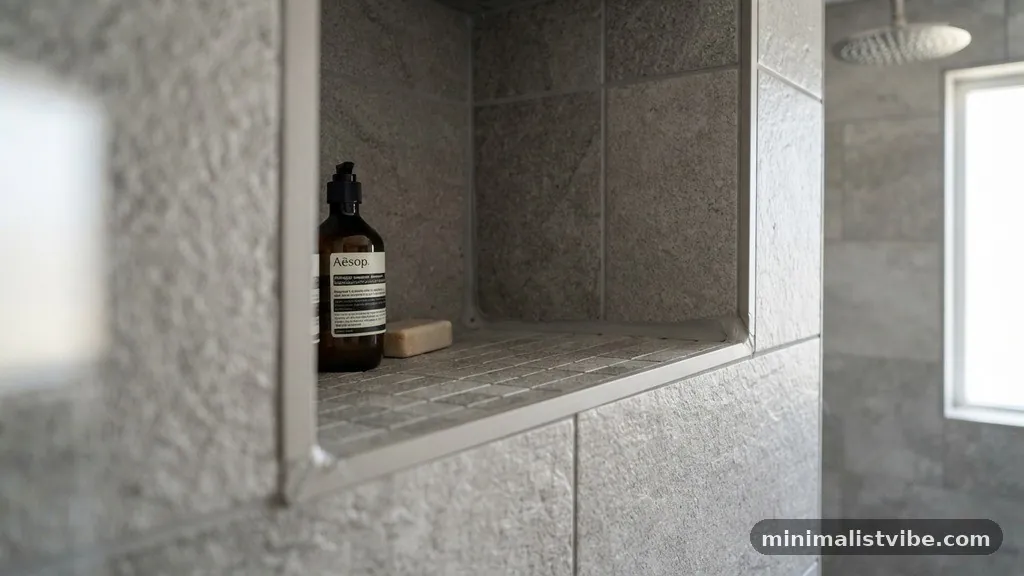
The interior corners of your shower niche are the most vulnerable spots for water intrusion. Even with a perfect slope, water can wick into the corners through capillary action.
The best practice is to avoid grout in the corners entirely. Instead, use a color-matched silicone sealant that is designed for high-moisture areas.
Silicone is flexible, which allows it to handle the minor expansion and contraction that occurs in a shower environment. Grout is rigid and prone to cracking, especially in corners where different planes meet. By using a flexible sealant, you create a waterproof barrier that won’t fail when the house settles or the temperature changes.
When applying the silicone, use a professional sealant tool or a gloved finger dipped in soapy water to create a smooth, concave profile. This shape helps water shed away from the corner and prevents it from pooling. Ensure the surfaces are completely clean and dry before applying the silicone to guarantee a strong bond that will last for years.
Avoiding Common Niche Construction Mistakes
One of the most common niche construction mistakes is failing to integrate the niche into the building’s waterproofing system. Many people treat the niche as a separate add-on rather than a continuation of the shower wall. If the membrane doesn’t overlap properly with the surrounding wall, water will find a way behind the tile.
Another frequent error is using organic mastic instead of thin-set mortar. Mastic is water-soluble and will break down over time in a wet environment.
Always use a polymer-modified thin-set mortar that is rated for submerged or wet applications. This ensures that the bond between the substrate, the membrane, and the tile remains solid even under constant moisture exposure.
Finally, don’t ignore the top of the niche. While the bottom needs a slope to drain, the top of the niche should also be slightly pitched—inward toward the shower—to prevent water from sitting on the header. By treating the entire cavity as a series of angled planes, you eliminate any flat surfaces where water can gather.
The Role of Maintenance and Cleaning
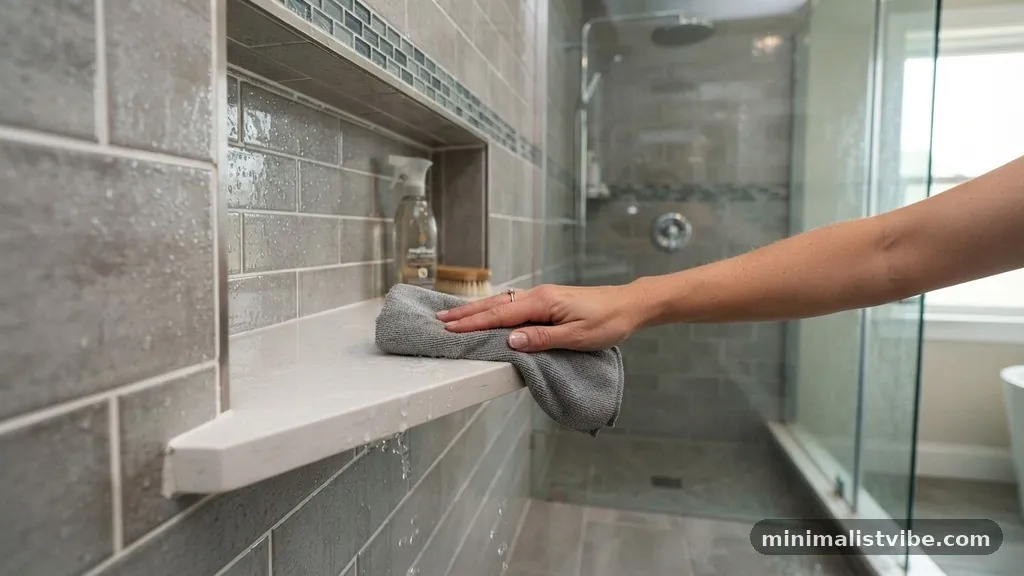
Even with a well-sloped niche, your bathroom requires regular care to stay in top condition. Periodically cleaning the niche with a non-abrasive cleaner will prevent the buildup of soap scum. Soap scum is sticky and can trap water even on a sloped surface, so keeping it clean is part of the overall moisture management strategy.
Avoid using harsh acidic cleaners that can damage the grout or the finish of your tile. A mild, pH-neutral cleaner is usually sufficient for daily or weekly maintenance. If you notice any signs of mold or mildew, address them immediately with a dedicated cleaner to prevent them from penetrating the grout lines.
Regularly inspect the silicone sealant in the corners. Over time, even the best silicone can degrade or pull away from the tile.
If you see gaps or peeling, remove the old sealant and reapply a fresh bead. This proactive approach ensures that your shower remains a moisture-resistant shower environment for as long as possible.
FAQ: Common Questions About Niche Drainage
Does a shower niche really need a slope?
Yes, a slope is critical. Without it, water will pool on the bottom shelf, which eventually leads to grout erosion, water penetration behind the tile, and potential structural damage or mold growth. Even a slight pitch makes a massive difference in how quickly the niche dries out after a shower.
What is the best way to clean a shower niche?
Use a soft cloth or sponge with a gentle, pH-neutral cleaner. Avoid abrasive scrubbers that can scratch your tiles or damage the grout. If you notice soap scum, wipe it down regularly, as soap buildup can trap moisture and create a surface for mold to grow, even on a sloped shelf.
Should I use grout or silicone in the corners of my niche?
Always use a flexible, color-matched silicone sealant in the interior corners. Grout is too brittle and will crack as the building shifts or the shower experiences temperature fluctuations. Silicone provides a watertight, flexible joint that is far better suited for the high-moisture conditions inside a shower.
Can I fix a flat niche after the tile is already installed?
Fixing a flat niche after the fact is extremely difficult and usually involves removing the bottom tiles. If you have already tiled and noticed it is flat, you might be able to add a very thin layer of high-quality, waterproof epoxy or a custom-cut piece of solid surface material to create a slope, but this is a temporary fix at best.
Are shower niches becoming outdated?
Niches remain a popular and functional choice for modern bathrooms. While some people prefer corner shelves or wall-mounted racks, a properly constructed niche provides a clean, integrated look. As long as you prioritize waterproofing and drainage, a niche is a great addition to any shower renovation.
Ensuring Longevity Through Proper Design
Sloping a Shower Niche Shelf So Water Doesn’t Pool in Corners is a fundamental detail that separates a high-quality renovation from a problematic one. By focusing on the structural pitch during the framing stage, using the correct waterproofing materials, and finishing with flexible sealants, you create a space that is both beautiful and resilient. These steps, while simple, prevent the most common causes of water damage and ensure that your shower remains a clean, dry environment.
Taking the time to get the drainage right will save you from costly repairs and the frustration of dealing with mold or failing grout down the line. If you are currently in the middle of a project, double-check your angles today. If you have any questions about your specific setup, feel free to reach out or consult with a professional to ensure your installation is built to last.