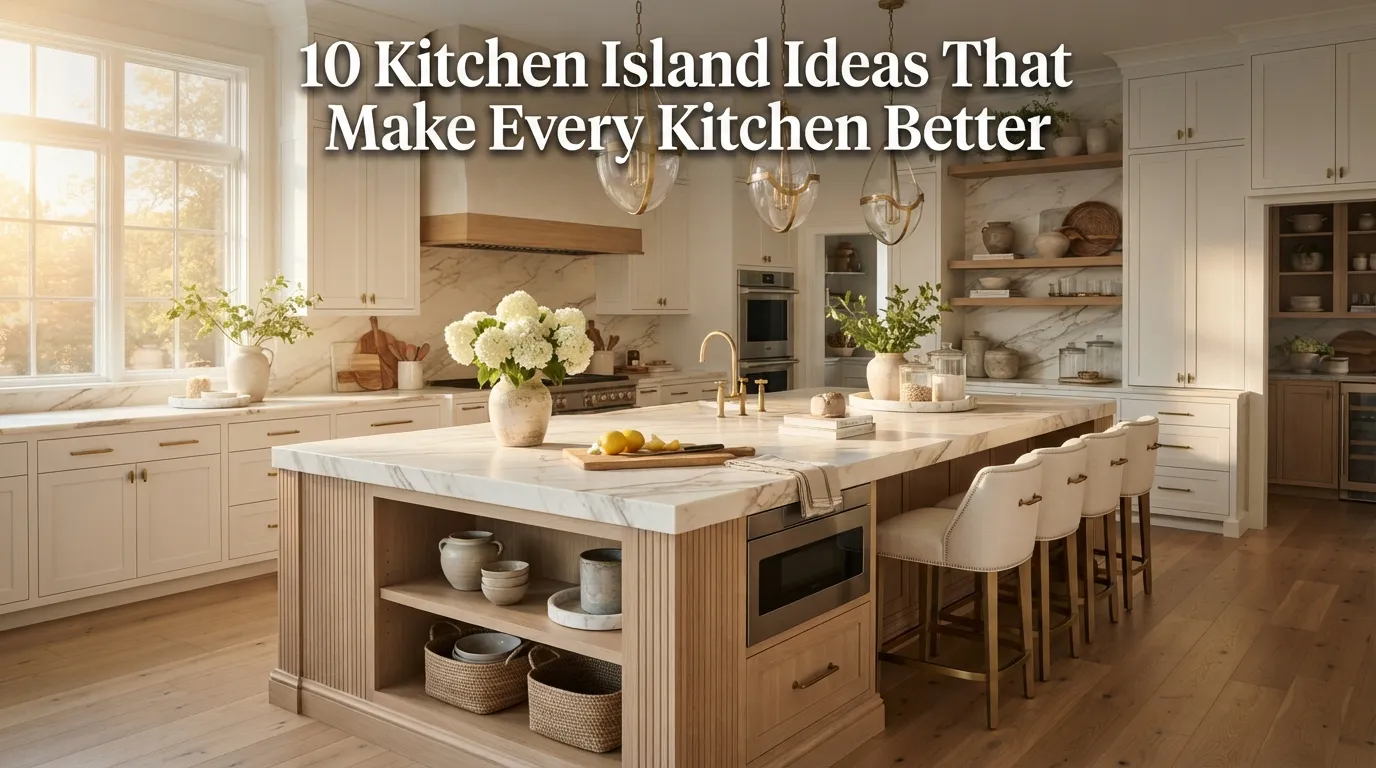
10 Kitchen Island Ideas That Make Every Kitchen Better
A kitchen island can be the single most functional piece of furniture in the entire house, or it can end up as an expensive surface that mostly collects mail and mismatched keys. A mistake many homeowners make is treating the island as an afterthought during a kitchen renovation, choosing a basic rectangular shape with minimal planning, when it’s actually one of the most important opportunities to add both function and personality to the room.
In my experience, the islands that get used the most — for cooking, for homework, for entertaining, for quick breakfasts — are the ones designed around how a specific household actually lives, not just how a showroom kitchen looks in photos. A well-planned island can add seating, storage, prep space, and a strong visual focal point all at once, which is exactly why it tends to be the most photographed and saved element in kitchen design content.
This guide walks through ten specific island features and design choices that genuinely improve how a kitchen functions, along with the practical reasoning and styling advice behind each one. Whether you’re planning a full kitchen renovation or considering an island upgrade on its own, each idea includes real guidance you can use to make a more informed decision.
If you’re anything like me, you want your island to do more than just look good in photos. These ten ideas are built around islands that earn their place in the room every single day.
Table of Contents
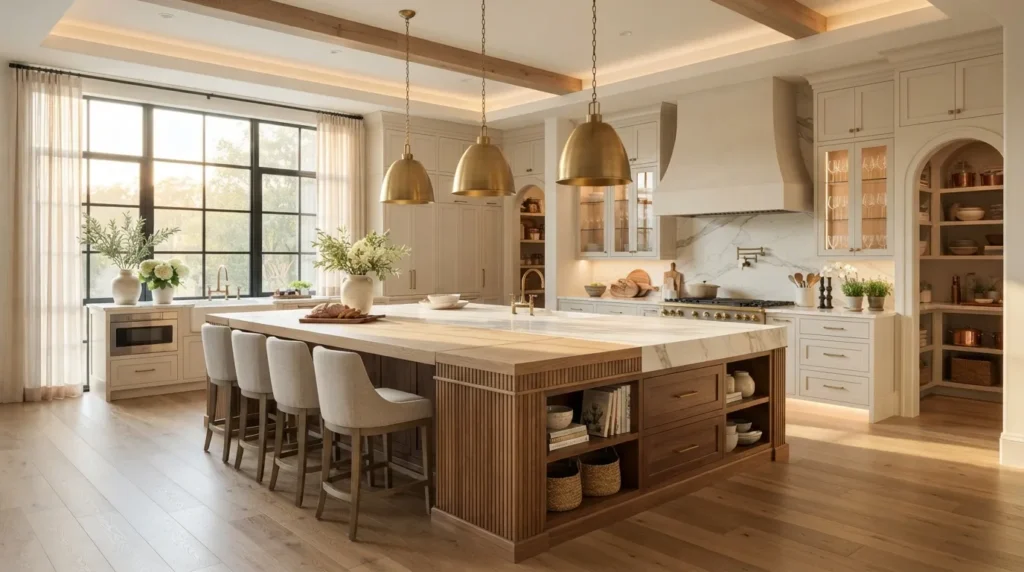
- Waterfall Countertop Edge — Adding a seamless, high-end architectural detail.
- Built-In Seating Ledge — Creating a casual dining spot without extra furniture.
- Statement Pendant Trio — Elevating the island with focal-point lighting.
- Hidden Appliance Storage — Keeping small appliances accessible but out of sight.
- Open Shelf Base — Adding display space and easy-access storage.
- Prep Sink Addition — Expanding the island’s everyday functionality.
- Mixed Material Island — Combining textures for visual depth.
- Rolling Cart Alternative — Choosing flexibility over a fixed installation.
- Wine Storage Nook — Building in a dedicated spot for entertaining.
- Curved Island Shape — Softening the kitchen’s traffic flow and lines.
1. Waterfall Countertop Edge
Quick Benefits
- Creates a seamless, high-end visual effect
- Protects the island’s side panels from wear
- Adds a strong architectural focal point
- Works with stone, quartz, or wood materials
- Elevates even a simple island design
Why It Works
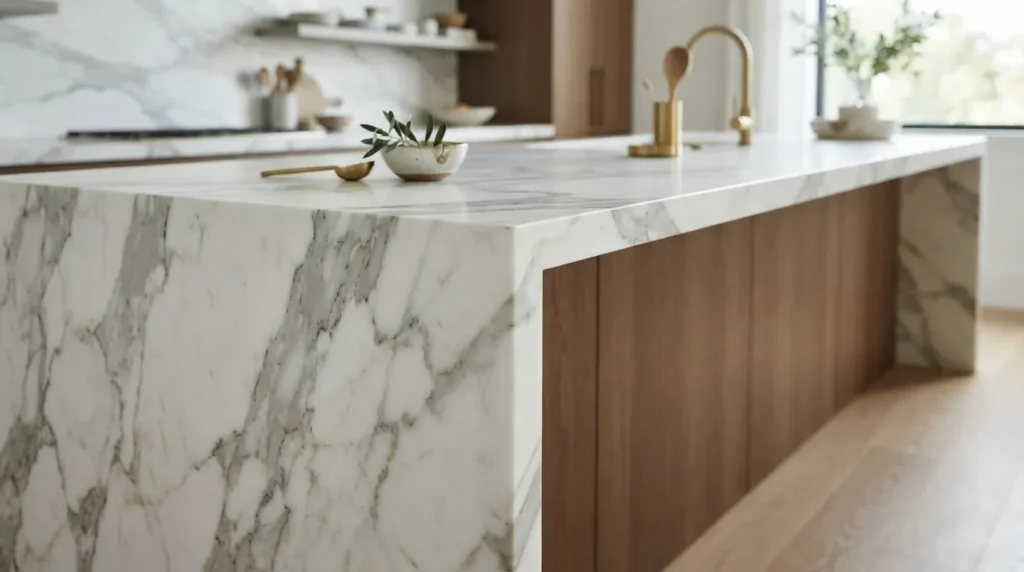
A waterfall edge, where the countertop material continues down the sides of the island rather than stopping at the top surface, is one of the most visually impactful upgrades available for a kitchen island. A mistake many homeowners make is treating the countertop as separate from the cabinetry below it, when a waterfall edge unifies the two into a single, seamless architectural element. This detail alone can make a fairly simple island design read as significantly more custom and high-end.
How To Style It
Choose a countertop material with enough visual interest to carry the waterfall effect, such as a natural stone with strong veining or a quartz with a convincing natural pattern, since the seams where the pieces meet will be more visible with a busier material. Ensure your fabricator has experience with mitered waterfall edges, since the seam quality makes a significant difference in how seamless the final look appears. This detail works particularly well on islands that don’t have seating on the waterfall side, since it keeps the clean panel fully visible.
2. Built-In Seating Ledge
Quick Benefits
- Provides casual dining without a separate table
- Encourages family gathering around the island
- Maximizes function in kitchens with limited dining space
- Works well for quick meals and homework
- Adds flexibility for entertaining guests
Why It Works
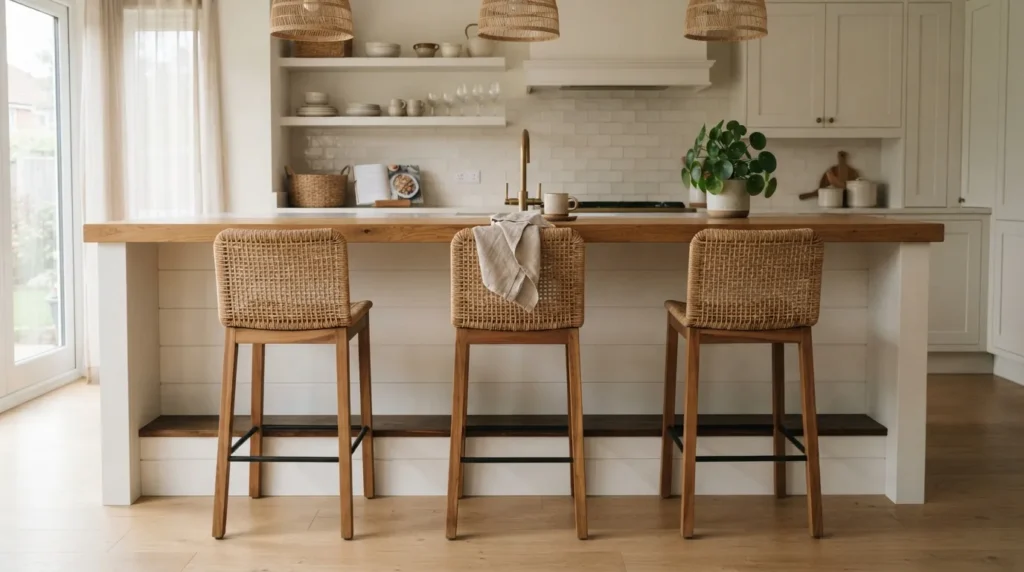
An overhang built specifically for seating turns the island into a genuine gathering spot rather than just a prep surface, which is especially valuable in kitchens without a dedicated breakfast nook or nearby dining table. One thing that works especially well is planning the overhang depth intentionally from the start of the design process, since a seating ledge that’s too shallow ends up feeling cramped and rarely gets used, while a properly sized one becomes one of the most-used spots in the entire house.
How To Style It
Plan for at least 12 inches of countertop overhang for comfortable knee space, and closer to 15 inches if the island will regularly seat adults for full meals rather than just quick snacks. Choose stools with a seat height that matches your counter height, typically 24 to 26 inches for standard counters or 28 to 30 inches for a taller bar-height island. Leave at least 24 inches of width per person seated at the island to avoid a cramped, elbow-to-elbow feel.
3. Statement Pendant Trio
Quick Benefits
- Creates a clear visual focal point above the island
- Provides essential task lighting for prep work
- Elevates the entire kitchen’s design without major cost
- Works with nearly any island size or shape
- Offers an easy way to introduce personal style
Why It Works
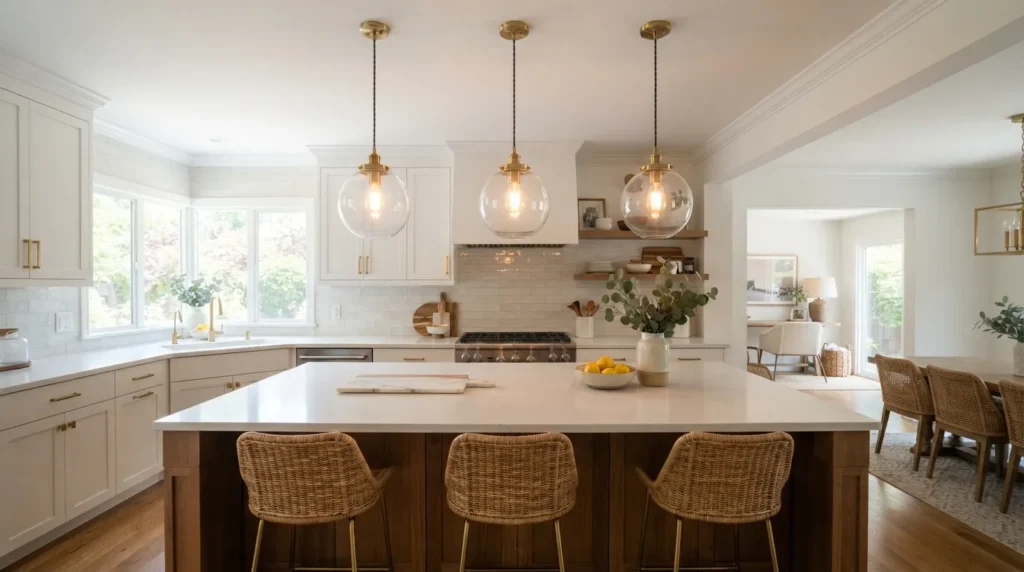
Lighting above the island does double duty, providing necessary task light for food prep while also serving as one of the kitchen’s most visible design statements. A mistake many homeowners make is choosing a single, undersized fixture or mismatched lighting throughout the kitchen, missing the opportunity to use a matching trio of pendants as a cohesive, intentional design choice. I’ve noticed that a well-chosen set of pendants often gets more attention in kitchen photos than the cabinetry itself.
How To Style It
For a standard island, choose three matching pendants spaced evenly, or two larger pendants for a smaller island, hung roughly 30 to 36 inches above the counter surface. Choose a fixture style and finish that complements the island’s material and the kitchen’s overall hardware finish, whether that’s a simple glass globe, a woven rattan shade, or a sculptural metal design. Dimmable options allow the lighting to shift from bright and functional during meal prep to softer and more ambient during entertaining.
4. Hidden Appliance Storage
Quick Benefits
- Keeps countertops clear and clutter-free
- Provides easy access to frequently used small appliances
- Maintains the kitchen’s overall clean aesthetic
- Works well in islands with sufficient depth
- Adds significant functional storage
Why It Works
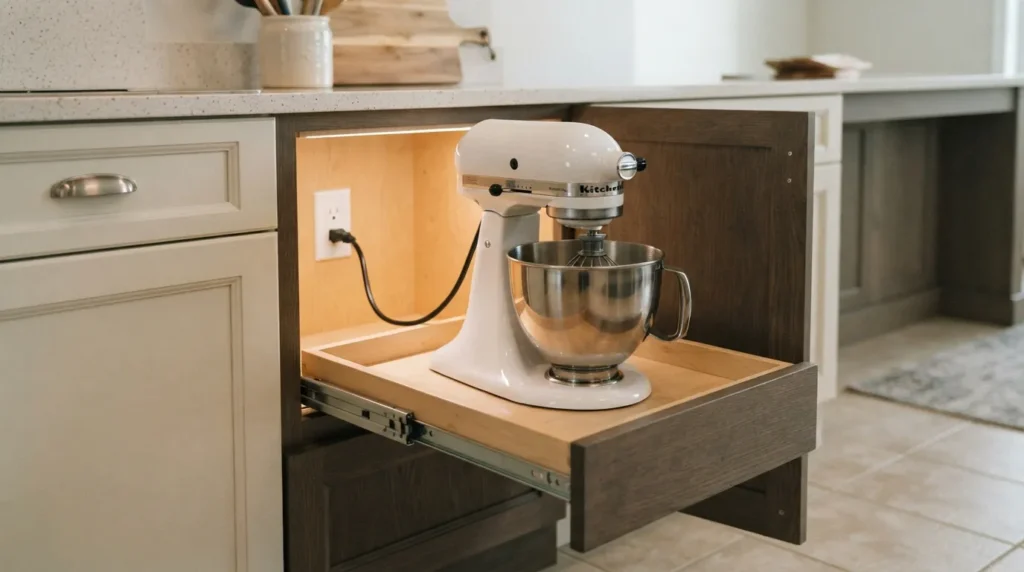
Small appliances — a stand mixer, a coffee maker, a blender — are essential in most kitchens but can quickly clutter an otherwise clean countertop if left out permanently. A mistake many homeowners make is planning island storage purely for dishware and cookware, overlooking the need for a dedicated spot for these bulkier, frequently used appliances. An appliance garage or a deep pull-out shelf built into the island keeps these items accessible without sacrificing counter space.
How To Style It
Include a pull-out shelf or a dedicated cabinet with an electrical outlet inside, allowing appliances like a stand mixer to be stored and even used without lifting them fully out of the cabinet. A garage-style appliance cabinet with a tambour or lift-up door works well for countertop-adjacent storage while keeping the appliance hidden when not in use. Measure your specific appliances before finalizing cabinet dimensions, since stand mixers and larger coffee makers can require more clearance than standard cabinet depths allow.
5. Open Shelf Base
Quick Benefits
- Adds warmth and texture to the island’s base
- Provides easy-access storage for everyday items
- Lightens the visual weight of a large island
- Creates a display opportunity for cookbooks or dishware
- Works well on one or more sides of the island
Why It Works
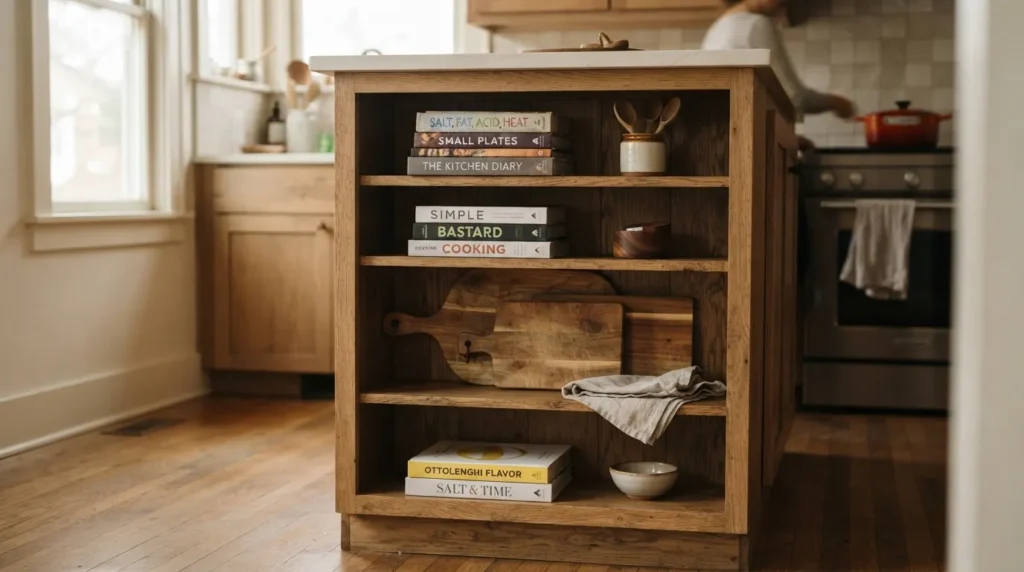
An island built entirely from closed cabinetry can feel visually heavy, particularly if it’s a larger piece anchoring the center of the room. A mistake many homeowners make is closing off every storage opportunity on the island, missing the chance to add open shelving that both lightens the piece visually and provides easy-access storage for items used daily, like cutting boards, cookbooks, or serving pieces. This is especially effective on the end of an island facing the main living or dining area.
How To Style It
Include one or two open shelves on the end of the island, ideally the side most visible from adjoining living spaces, styled with a mix of cookbooks, wood cutting boards, and a small stack of everyday bowls or dishware. Choose a wood finish for the shelving that complements the island’s cabinetry or countertop, since this material transition helps the open shelving feel intentional rather than like an afterthought. Keep the styling relatively functional and lived-in rather than purely decorative, since open kitchen shelving works best when it looks genuinely useful.
6. Prep Sink Addition
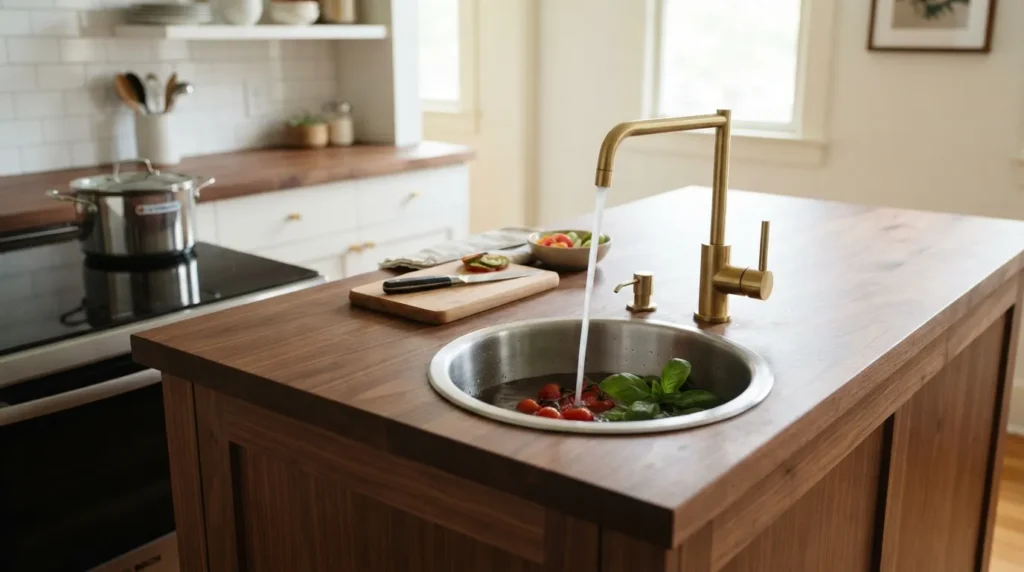
Quick Benefits
- Adds significant functionality for meal prep
- Reduces congestion at the main sink during cooking
- Improves workflow for multiple cooks
- Works especially well for entertaining
- Elevates the island beyond a purely social surface
Why It Works
A secondary prep sink on the island transforms it from a purely social or display surface into a genuinely functional workstation, particularly in households where more than one person cooks regularly or where entertaining involves significant food prep. A mistake many homeowners make is assuming a single sink is sufficient, only to find themselves competing for space at the main sink during larger meals or gatherings. A prep sink alleviates this bottleneck and improves the overall kitchen workflow.
How To Style It
Choose a smaller, single-basin sink for the prep sink, since it doesn’t need to handle the same volume as the main kitchen sink, and pair it with a simple pull-down or standard faucet in a finish that matches the rest of the kitchen. Position the prep sink on the side of the island most convenient to the cooktop or range, since it will primarily be used for rinsing vegetables and quick cleanup during active cooking. Confirm plumbing feasibility early in the planning process, since running a second water line to the island can add meaningfully to the renovation budget.
7. Mixed Material Island
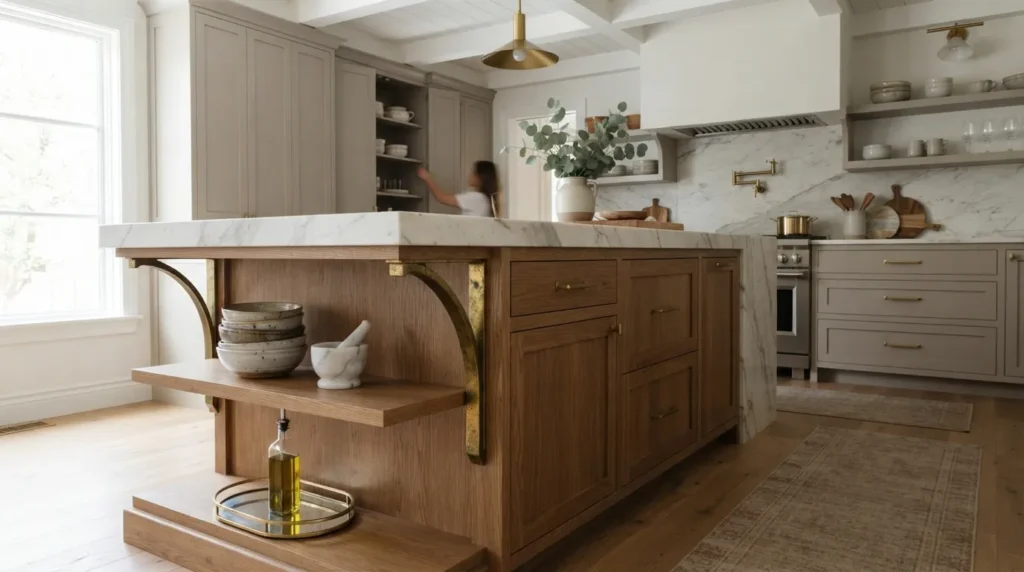
Quick Benefits
- Adds visual depth and texture
- Creates a distinctive, custom-feeling design
- Allows for practical material choices by function
- Works well combining wood, stone, and metal
- Elevates the island as the kitchen’s design centerpiece
Why It Works
An island built from a single material throughout can look nice, but combining two or three materials — a stone countertop, a wood base, a metal shelf or accent — creates significantly more visual depth and often ends up being the most photographed feature in the entire kitchen. That’s why many designers recommend treating the island as an opportunity to introduce material variety that might not work as well across the kitchen’s full perimeter, since a smaller, contained piece like an island can handle more visual complexity without overwhelming the room.
How To Style It
Pair a stone or quartz countertop with a wood cabinet base in a contrasting tone, and consider a metal accent, such as a brass shelf bracket or a metal wine rack insert, to add a third material into the mix. Keep the surrounding perimeter cabinetry simpler and more uniform so the island’s material variety stands out as an intentional focal point rather than competing with an equally complex backdrop. This approach works particularly well in kitchens that otherwise lean fairly minimal or neutral.
8. Rolling Cart Alternative
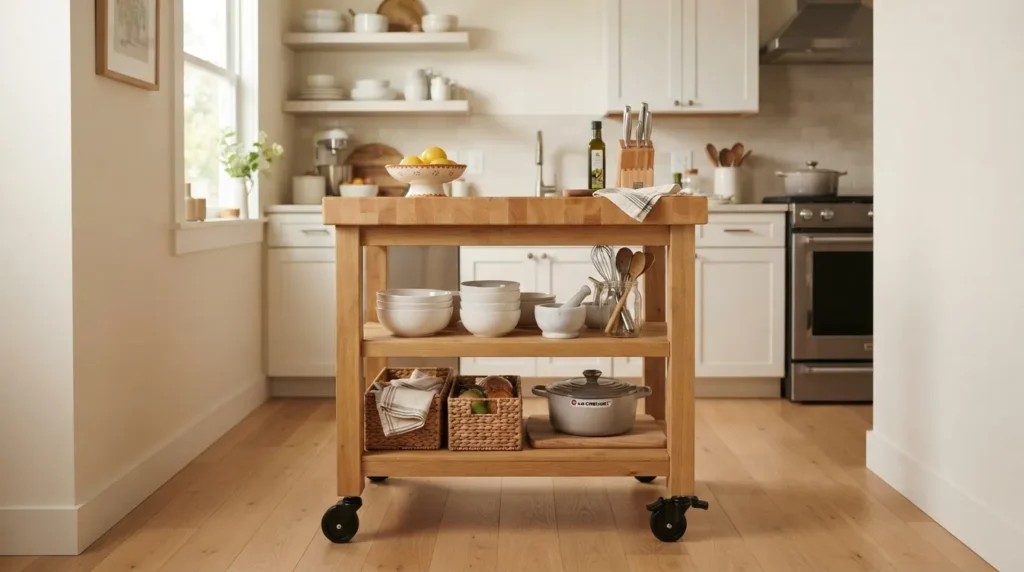
Quick Benefits
- Provides island functionality without a permanent installation
- Offers flexibility to move or reposition as needed
- Works well in smaller kitchens or rental homes
- Adds extra storage and counter space affordably
- Easy to update or replace over time
Why It Works
Not every kitchen has the space or budget for a permanent, built-in island, and a well-chosen rolling cart can provide much of the same functionality — extra counter space, storage, and sometimes even seating — without a major renovation. A mistake many homeowners make is assuming an island has to be a fixed, permanent structure, ruling out the option entirely in smaller kitchens where a rolling cart could actually work quite well. This is also an especially practical option for renters who can’t make permanent changes to the space.
How To Style It
Choose a rolling cart with a durable countertop material, such as butcher block or a stone-topped option, along with some form of storage below, whether that’s open shelving, drawers, or a combination of both. Look for a cart with locking wheels, which allows it to function as a stationary island during regular use while still offering the flexibility to move it when more open floor space is needed. A cart sized to match the kitchen’s existing color palette and materials will feel more like an intentional design choice than a temporary solution.
9. Wine Storage Nook
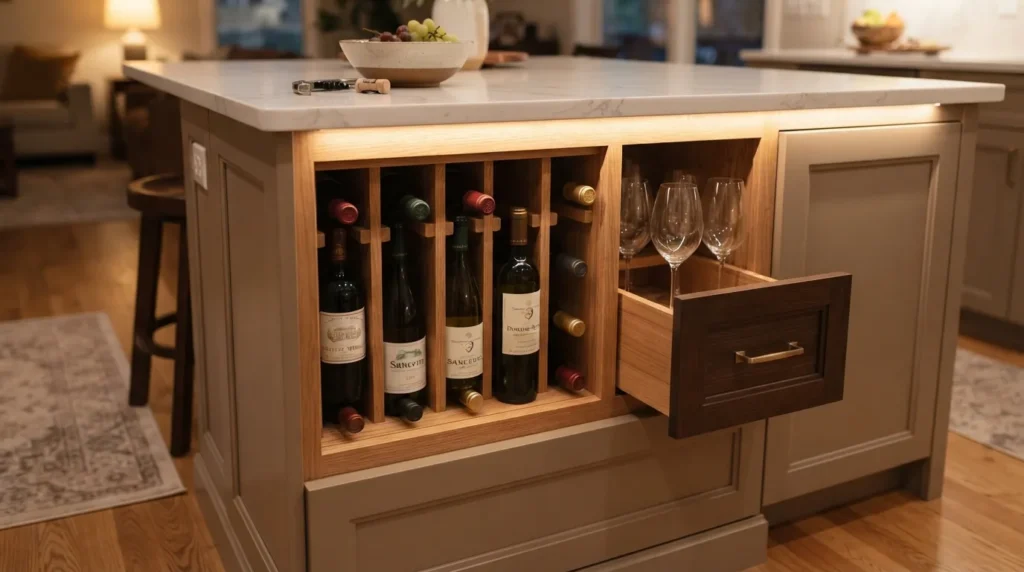
Quick Benefits
- Adds a dedicated spot for wine storage and display
- Elevates the island for entertaining purposes
- Keeps bottles easily accessible during meal prep
- Works well combined with open shelving or glass fronts
- Adds a personal, hospitality-focused design touch
Why It Works
For households that entertain regularly or simply enjoy having wine on hand, a dedicated storage nook built into the island adds both function and a personal design touch that a purely generic island lacks. A mistake many homeowners make is storing wine in a separate cabinet across the kitchen, disconnected from where drinks are actually poured and served during gatherings. Building this storage directly into the island keeps everything centralized and adds a hospitality-focused detail that guests tend to notice.
How To Style It
Include a horizontal wine rack insert or a series of individual bottle slots built into one section of the island, ideally near the end closest to where drinks are typically served. Pair this feature with a small shelf or drawer for wine glasses and a bottle opener, keeping everything needed for pouring a drink in one convenient spot. This feature works particularly well paired with the open shelf base idea mentioned earlier, combining wine storage with everyday dishware display.
10. Curved Island Shape
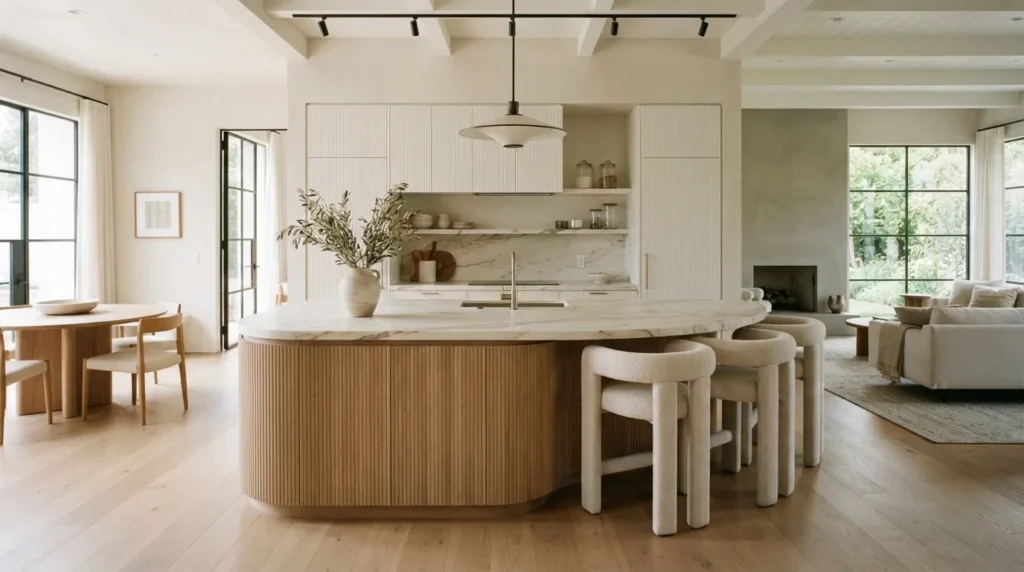
Quick Benefits
- Softens the kitchen’s overall traffic flow
- Reduces sharp corners in tight walkways
- Adds a distinctive, sculptural design element
- Pairs beautifully with curved seating or stools
- Works especially well in open-concept layouts
Why It Works
A curved or rounded island shape is a departure from the standard rectangular design, and it offers genuine functional benefits beyond just visual interest — rounded corners reduce the likelihood of bumped hips and elbows in a busy kitchen, and the softer shape can improve traffic flow in an open-concept layout where the island sits close to other high-traffic zones. I’ve seen this idea transform kitchens that previously felt a bit boxy, adding a sculptural quality that a standard rectangular island simply can’t achieve.
How To Style It
Work with your kitchen designer or fabricator early in the planning process, since curved countertops require more specialized fabrication than standard rectangular pieces, particularly in stone. Pair a curved island with curved or gently rounded counter stools to reinforce the softer overall shape, rather than mixing in sharp-edged, angular seating. This island shape works especially well in open-concept kitchens where the island is visible from the living or dining area, since the curve softens the transition between spaces.
Frequently Asked Questions
What’s the ideal size for a kitchen island?
Island size depends heavily on the kitchen’s overall dimensions, but as a general guideline, there should be at least 36 to 42 inches of clearance on all sides for comfortable walking space, even when cabinet or appliance doors are open. Most functional islands start around 6 feet in length, though smaller kitchens can work with a more compact design.
Do I need electrical outlets on my kitchen island?
Yes, in most cases. Building codes in many areas require at least one outlet on an island with a countertop, and practically speaking, an outlet is essential for small appliances, charging devices, or a mixer stored in an appliance garage. Discuss outlet placement with your electrician early in the planning process.
Can a small kitchen still have a functional island?
Yes, though the design needs to be more intentional. A smaller island, a rolling cart alternative, or a narrow island without seating can all add valuable prep space and storage in a smaller kitchen without overwhelming the layout.
Is a waterfall countertop edge worth the extra cost?
It depends on your priorities and budget, but a waterfall edge does add a noticeably high-end, custom look for a relatively contained additional cost compared to a full kitchen renovation. It’s often considered one of the more impactful upgrades relative to its price.
How many people can comfortably sit at a kitchen island?
This depends on the island’s length, but as a general rule, allow about 24 inches of width per person for comfortable seating. A standard 6-foot island can typically seat two to three people comfortably along one side.
Should the island match the rest of the kitchen cabinetry?
Not necessarily. Many of the most visually interesting kitchens use a contrasting color or material for the island specifically, since it naturally serves as the room’s focal point. A matching island works well too, particularly in more traditional or minimalist kitchen designs.
What’s the most important feature to prioritize when designing a new island?
This depends on how your household actually uses the kitchen, but seating, storage, and adequate prep space are generally the top three considerations. Identifying which of these matters most for your daily routine should guide the rest of the island’s design decisions.
Conclusion
A great kitchen island goes far beyond a rectangular slab of countertop in the middle of the room. Thoughtful details like a waterfall edge, a properly sized seating ledge, hidden appliance storage, or a dedicated wine nook can transform the island from a simple surface into the true functional and visual heart of the kitchen.
Start with one or two ideas from this list and gradually build a space that reflects your style and supports everyday comfort. Whether that means adding a statement pendant trio above your existing island, planning for a prep sink in your next renovation, or considering a curved shape to soften your kitchen’s traffic flow, these choices compound into an island that genuinely earns its place in the room. The best kitchen islands aren’t just beautiful centerpieces — they’re the pieces your household actually uses every single day.
Related Articles
- Timeless Kitchen Ideas That Never Go Out Of Style
- Two-Tone Kitchen Cabinet Ideas That Add Character
- Small Kitchen Layout Solutions
- Modern Farmhouse Decor Essentials
- How To Choose Kitchen Pendant Lighting