
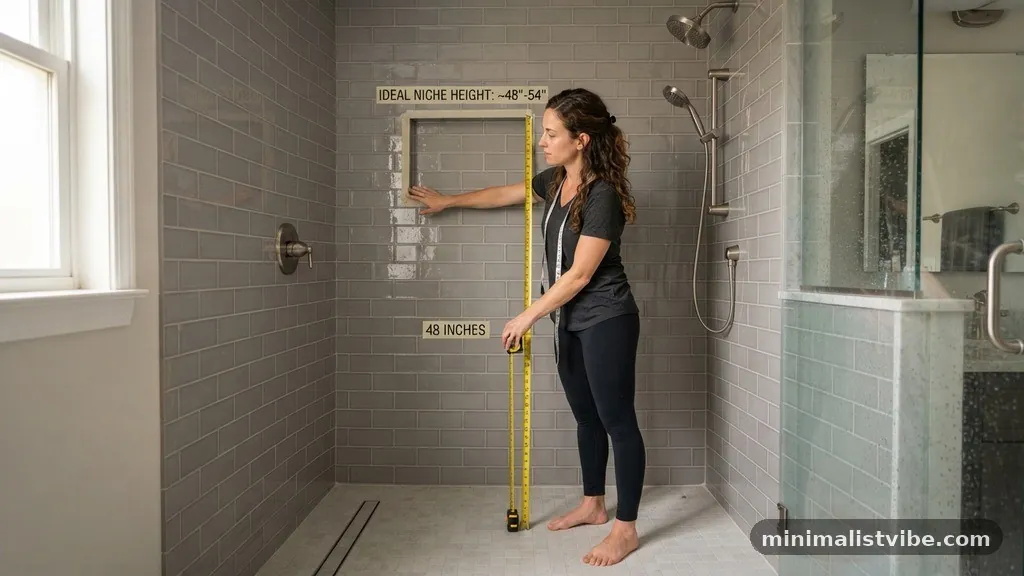
Determining the Best Height to Install a Shower Niche from the Floor
Figuring out the best height to install a shower niche from the floor is a critical decision that balances daily convenience with the structural integrity of your bathroom wall. If you place it too low, you’ll find yourself bending over constantly to retrieve your shampoo; place it too high, and the shorter members of your household might struggle to reach their toiletries.
By focusing on ergonomics and the specific layout of your shower, you can ensure your storage solution is both functional and aesthetically pleasing. This article explores the precise measurements and planning steps needed to achieve the perfect niche height for your unique space.
Assessing Your Personal Ergonomics
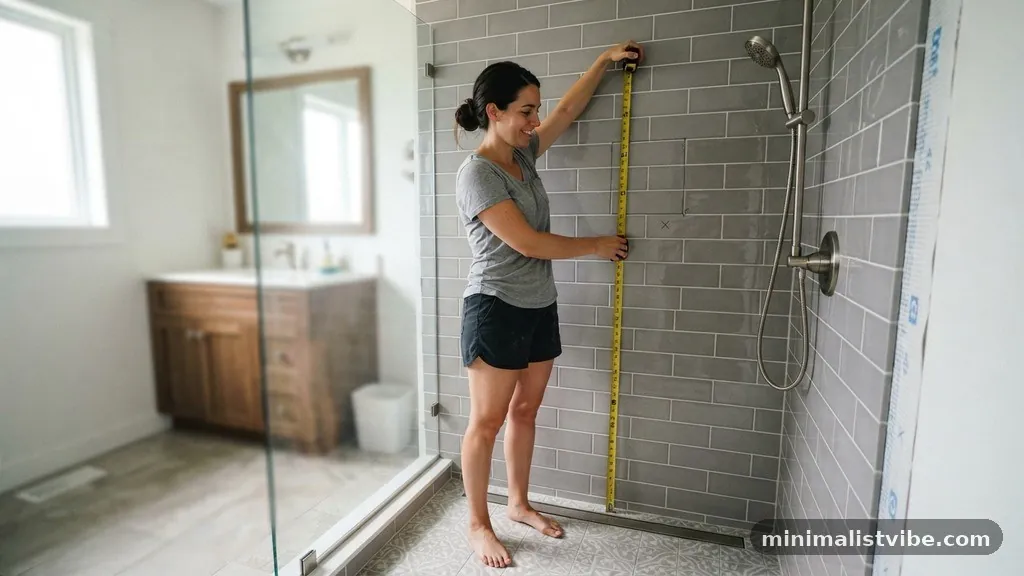
Before you commit to a specific measurement, you need to consider who will actually use the shower on a daily basis. The primary users should stand in their natural showering position and reach out to where their arm feels most comfortable. For most adults, this “sweet spot” typically lands between 40 and 50 inches above the finished floor.
Think about the items you plan to store. If you are a fan of bulk-sized shampoo bottles, you need to ensure the height allows for the bottle itself plus enough clearance to pull it out without hitting the top of the niche.
If you install the niche too low, you might end up with a storage space that is technically accessible but physically awkward to use during a morning routine. Always err on the side of a slightly higher placement if you are debating between two heights, as reaching up is generally easier than reaching down.
Standard Industry Recommendations for Niche Placement
In the world of bathroom design, there is a general consensus regarding the standard height for a shower niche. Most contractors and designers aim for the center of the niche to be placed at eye level, which usually falls around 48 inches from the floor. This height is considered the “gold standard” because it keeps your products within easy reach without requiring you to stoop or stretch excessively.
However, keep in mind that “standard” is just a starting point. If you have a custom shower bench or a specific design feature like a footrest for shaving, your niche placement may need to shift upward or downward to accommodate those elements.
Always mark your intended location on the wall with painter’s tape before you finalize the framing. Seeing the visual representation of the niche on your actual wall often reveals if the proportions look right in relation to your tile pattern and shower fixtures.
Accounting for Tile Layout and Grout Lines
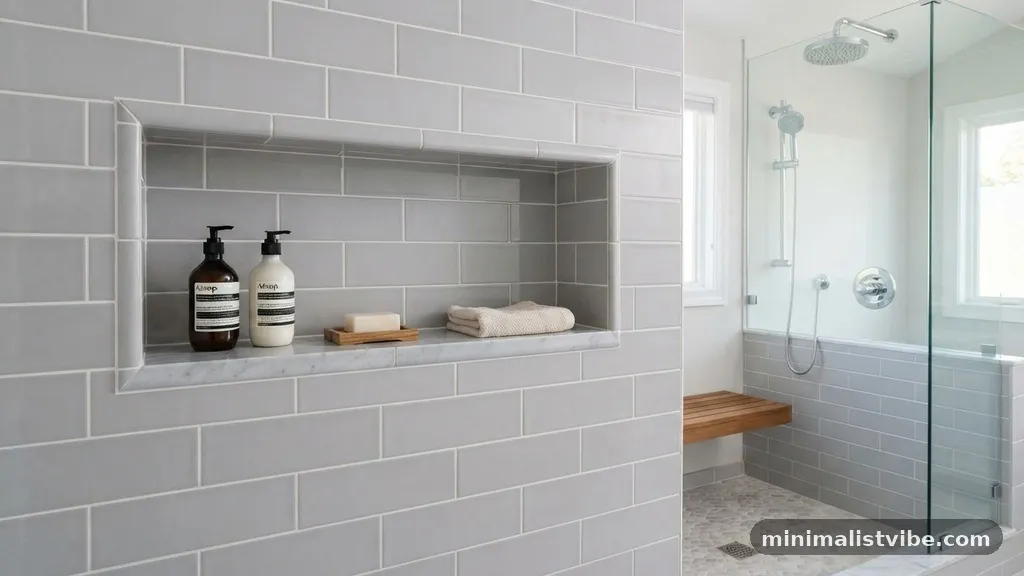
One of the biggest mistakes homeowners make is ignoring the tile layout when determining where to place their storage cavity. If you install a niche without considering the size of your chosen tile, you are setting yourself up for complex cuts and potentially unsightly slivers of tile around the edges. You want the niche to align with your grout lines as much as possible to create a clean, professional look.
Plan your niche height so that the bottom edge sits exactly on a full tile row. By doing this, you avoid having to cut tiny, fragile pieces of tile to bridge the gap between the floor and the niche.
If you are using large-format tiles, this becomes even more critical. Consult with your tile setter early in the process to ensure the wall layout is planned around the niche rather than forcing the niche into a layout that doesn’t support it.
Vertical Versus Horizontal Orientation
The orientation of your shower niche—whether you choose a vertical or horizontal layout—significantly influences how you perceive the height. A horizontal niche is excellent for long, wide shower walls, providing a expansive shelf that can hold multiple products. Because of its width, you have more flexibility with height, as you can easily shift the entire unit up or down by a few inches without affecting your overall storage capacity.
Conversely, a vertical niche is often better suited for smaller wall sections or when you want to create a sense of height in a bathroom with low ceilings. With a vertical design, you can incorporate multiple shelves, which allows you to place the bottom shelf at a lower, more accessible height while keeping the upper shelves for less frequently used items.
When deciding on the best height to install a shower niche from the floor, think about how the shape of the niche interacts with your bathroom’s vertical lines. A vertical niche draws the eye upward, which can make a space feel larger, whereas a horizontal niche emphasizes the width of the shower enclosure.
Avoiding Structural Obstacles in the Wall
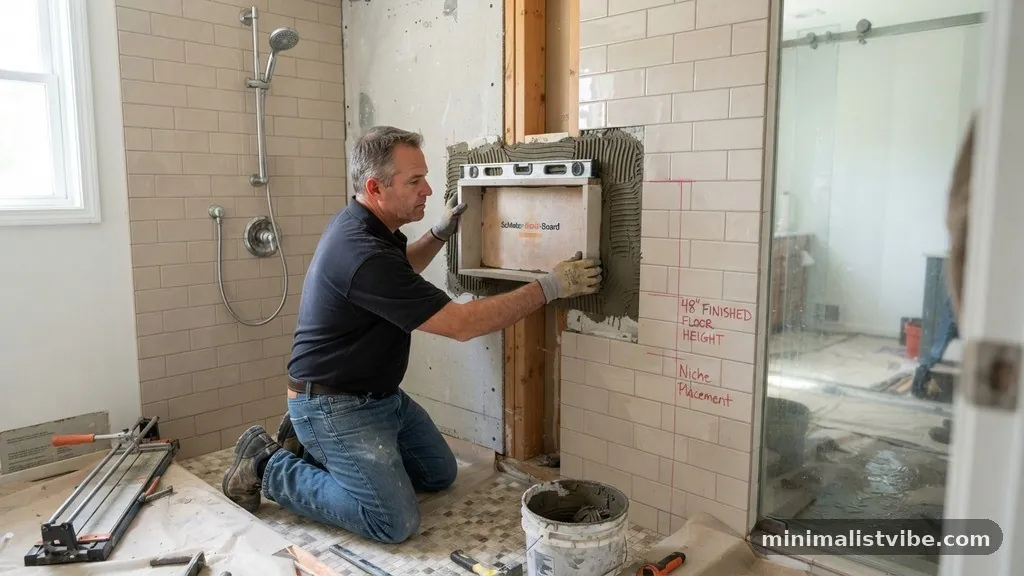
Behind your beautiful tile work lies a network of pipes, electrical wires, and structural studs that can completely derail your plans. Before you finalize the height of your niche, you must know what is happening inside the wall. If you accidentally position your niche where a horizontal fire block or a plumbing vent pipe exists, you will face significant and expensive delays.
Use a stud finder to locate the vertical framing members and, if possible, use an endoscope camera or cut a small inspection hole to see what is hidden behind the drywall. If you find an obstruction, you have two choices: either move the niche to a different wall or adjust the height to clear the obstacle. Never compromise the structural integrity of a load-bearing stud just to fit a niche at your preferred height.
If you must move a stud, you will need to install a header to redistribute the load, which adds complexity to the project. You can learn more about structural considerations and building standards through the National Roofing Contractors Association, which provides resources on proper construction practices that apply to various building components.
Depth Considerations for Better Functionality
While the height from the floor is the primary concern, the depth of the wall cavity is equally important for the success of your project. A standard wall depth is usually around 3.5 to 4 inches, which is often enough for small shampoo bottles but can feel cramped if you have large, bulky containers. If you want a deeper niche, you may need to fur out the wall or build a custom box that extends into the adjacent room’s wall space.
Consider the thickness of your backer board and the tile itself, as these will subtract from the usable depth of the niche. If you are aiming for a recessed look, make sure the interior depth is sufficient so that your bottles don’t protrude past the finished tile surface.
A protruding bottle can be a hazard if you bump into it while moving around in a small shower stall. Always measure your largest product and add at least an extra inch of clearance to account for easy removal.
Planning for Future Needs and Accessibility

When you decide on the best height to install a shower niche from the floor, think about how your needs might change over the next several years. If you are planning to age in place, you might want to install a niche at a lower height that is accessible from a seated position, such as on a bench or a shower chair. A niche placed too high becomes a major inconvenience if you ever experience mobility issues.
Many modern bathroom designs incorporate two niches: one at a standard standing height and a smaller, secondary one lower down for items used while sitting. This dual-niche approach provides maximum flexibility and eliminates the struggle of reaching for items when your movement is restricted. Even if you don’t need the lower niche right now, having it built in adds value to the home and ensures that your bathroom remains functional for all stages of life.
Common Mistakes to Avoid During Installation
The most frequent error in niche installation is failing to slope the bottom shelf. If the bottom of your niche is perfectly level, water will pool inside, leading to mold, mildew, and potential grout failure over time. You must ensure the bottom surface has a slight downward pitch toward the shower interior so that water drains out naturally.
Another common mistake is neglecting the waterproofing membrane. A niche is a high-risk area for leaks because it creates a hole in your moisture barrier. Make sure you use a high-quality liquid-applied membrane or a pre-formed waterproof niche box that integrates with your wall’s waterproofing system.
If water gets behind your tile, it will rot the wood framing and cause massive damage that is invisible until it is too late. Finally, avoid placing the niche directly in the path of the shower head spray, as this will keep the contents constantly wet and encourage soap scum buildup.
Measuring and Marking Your Layout
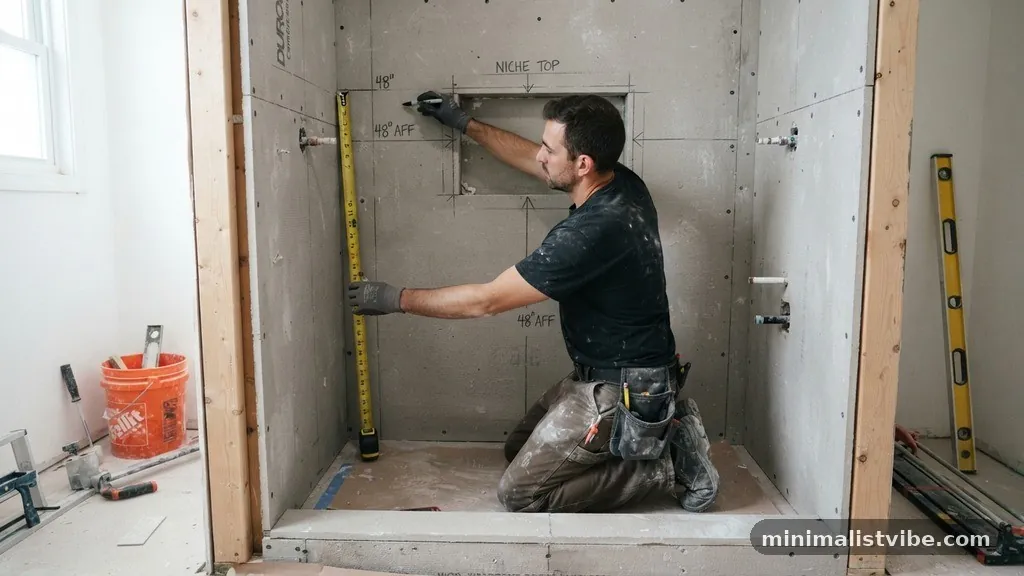
Once you have accounted for studs, plumbing, and ergonomics, it is time to mark your layout. Start by marking the finished floor height, accounting for the thickness of your tile and thin-set.
From there, measure up to your desired niche height and mark the center point. Use a level to draw a perfectly horizontal line across the wall; this will be your reference for the bottom of the niche.
Double-check your measurements by holding your bottles up to the wall at the marked height. It is much easier to adjust your pencil marks now than it is to move the framing after the drywall has been cut.
Once you are satisfied with the location, use a square to mark the exact perimeter of the niche. Ensure the lines are perfectly plumb and level, as even a slight deviation will be glaringly obvious once the tile is installed and the grout is applied.
Finalizing the Design and Finishing Touches
After the rough framing is complete and the waterproofing is applied, the final step in achieving the best height to install a shower niche from the floor involves selecting the right finishing materials. Bullnose tiles, metal trim pieces, or stone slabs can be used to finish the edges of the niche. Metal trim, in particular, offers a sleek, modern look and protects the tile edges from chipping.
When you begin tiling, start from the bottom of the niche and work your way up. This allows you to support the tile as you install it and ensures that the grout lines are clean and consistent.
If you are using a contrasting tile for the interior of the niche, make sure the thickness is compatible with your main wall tile to avoid awkward transitions. A well-planned niche, installed at the right height and finished with precision, will be the highlight of your bathroom renovation for years to come.
Frequently Asked Questions
Is 12 inches tall enough for a shower niche?
A 12-inch tall niche is generally sufficient for standard shampoo and body wash bottles, which typically range from 8 to 10 inches in height. However, if you prefer larger, professional-sized bottles or want to store taller items like brushes, you might find 12 inches to be tight. It is always better to aim for 14 to 16 inches in height if your wall space allows, providing extra room for easier access.
Should I place my niche on the same wall as the shower head?
It is usually best to avoid placing a niche directly under the shower head or on the same wall if it will be constantly pelted by water. Water accumulation in the niche can lead to faster buildup of soap scum and mineral deposits. Side walls or the back wall, away from the direct spray, are generally better locations for keeping your products clean and dry.
Can I install a niche between two studs?
Yes, most standard niches are designed to fit perfectly between two existing wall studs, which are typically spaced 16 inches apart. This makes installation much easier since you don’t have to cut and re-frame the studs. If you want a wider niche, you will need to cut a stud and add a header and footer, which is a more advanced project that requires structural considerations.
Does the height of the niche change if I have a bathtub?
If you have a bathtub-shower combination, the height of the niche should be adjusted for someone sitting in the tub. You want the niche to be within reach while you are in a seated or reclining position, which is typically lower than if you were standing. Aim for a center height of 30 to 36 inches from the tub deck rather than the floor to ensure comfort.
Is a horizontal or vertical niche easier to waterproof?
Both orientations are equally easy to waterproof as long as you use the correct materials and follow the manufacturer’s instructions. The key to successful waterproofing is ensuring that all corners are properly sealed with corner patches or liquid-applied membrane. The orientation matters more for aesthetic preference and the specific layout of your wall studs rather than the technical difficulty of the installation.
Conclusion
Determining the best height to install a shower niche from the floor is a process of balancing practical utility with the architectural constraints of your bathroom. By prioritizing the ergonomics of your daily routine and carefully mapping out your tile layout, you ensure that your storage solution is as functional as it is beautiful. Remember to account for internal wall obstructions, slope the bottom shelf for proper drainage, and prioritize professional-grade waterproofing to protect your investment.
Taking the time to plan these details correctly prevents common pitfalls and guarantees a shower space that serves your needs for years to come. If you have any specific questions about your layout or need advice on choosing the right materials, feel free to reach out and discuss your project goals further.